Authentication/Authorization
PresQT will not have the ability to create a ‘session’ for the user based on authentication. It will be expecting tokens to be passed through the header of the request. When retrieving items it expects ‘presqt-source-token’ to be in the header. When depositing an item it expects ‘presqt-destination-token’ to be in the header.
Target Token Instructions
Open Science Framework
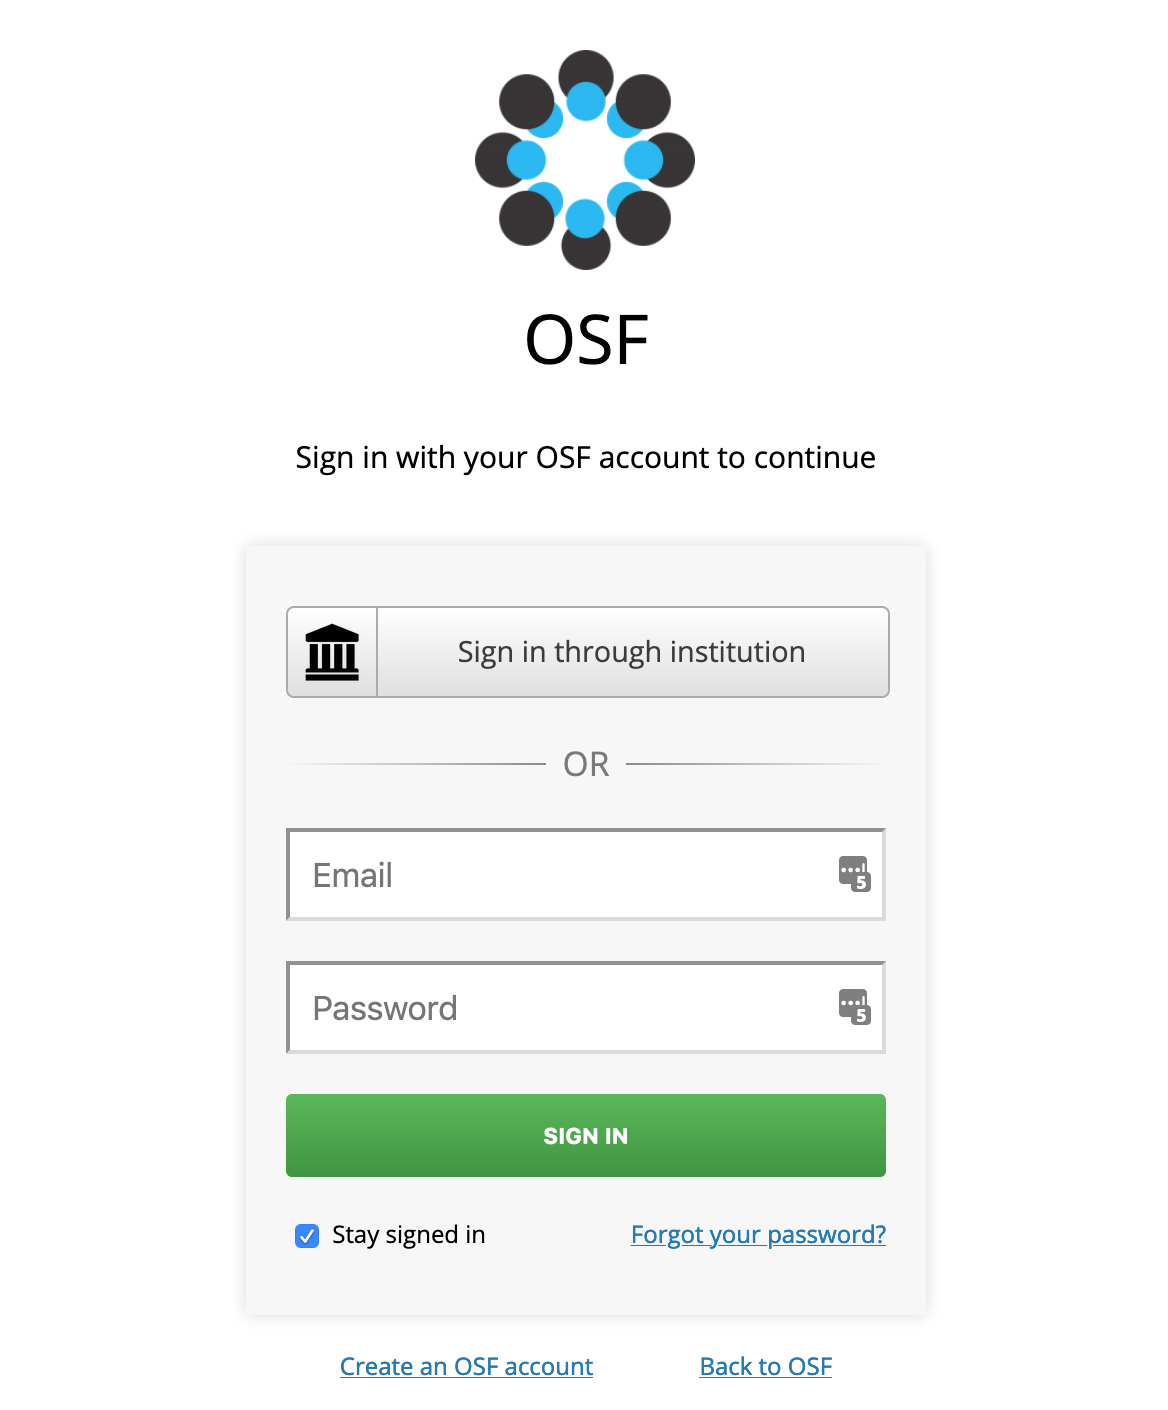
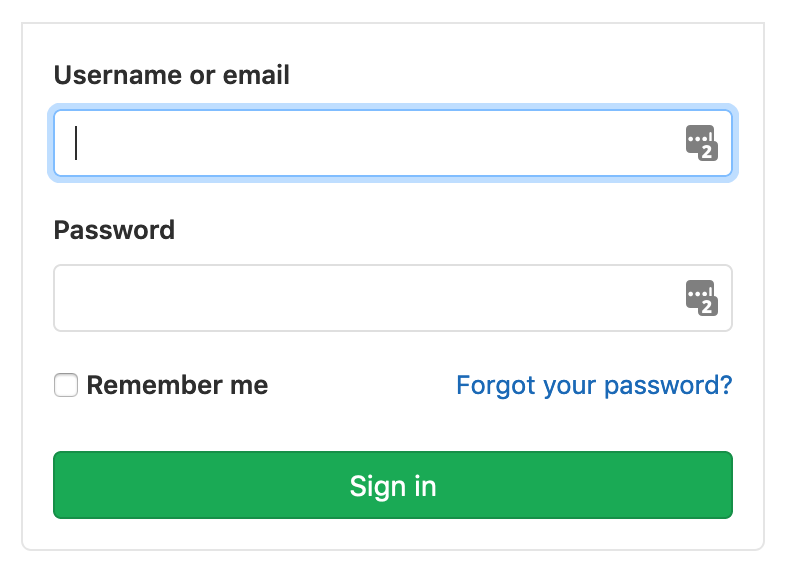
Navigate to https://osf.io/ and login to your account.
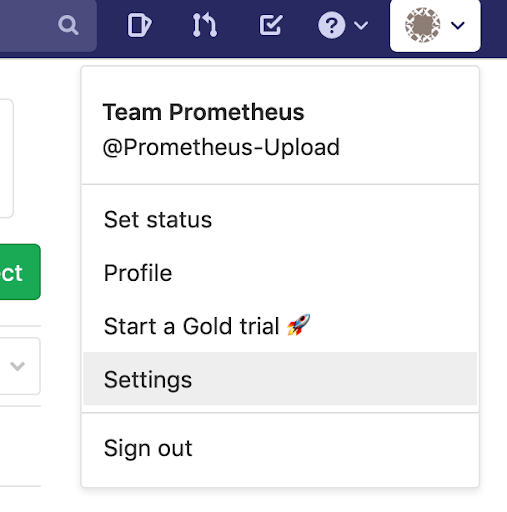
Upon logging in, click on your username in the top right corner and then click on
Settings.

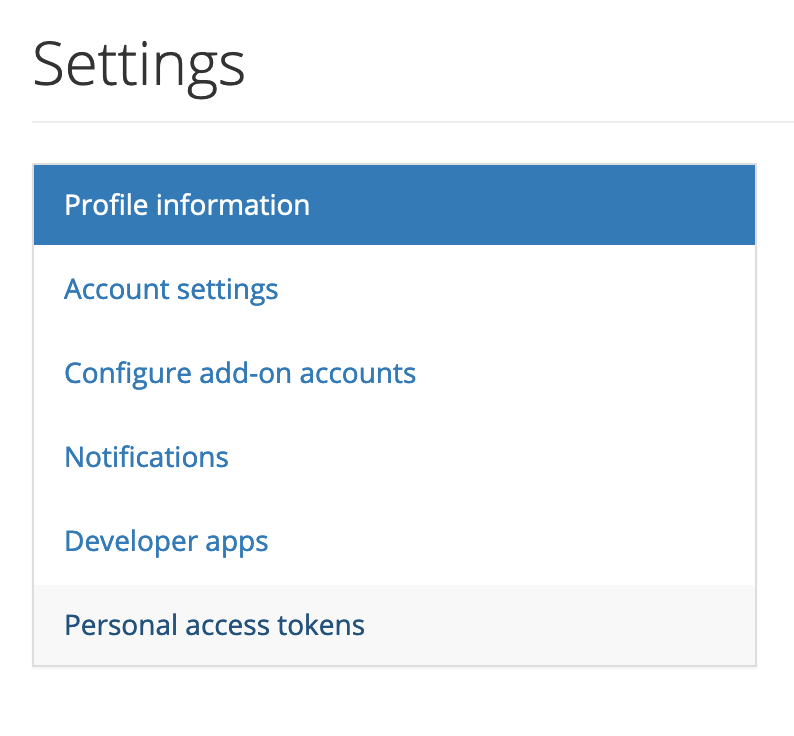
Once in``
Settings, click onPersonal Access Tokensin the left hand menu.
Click on
Create token.

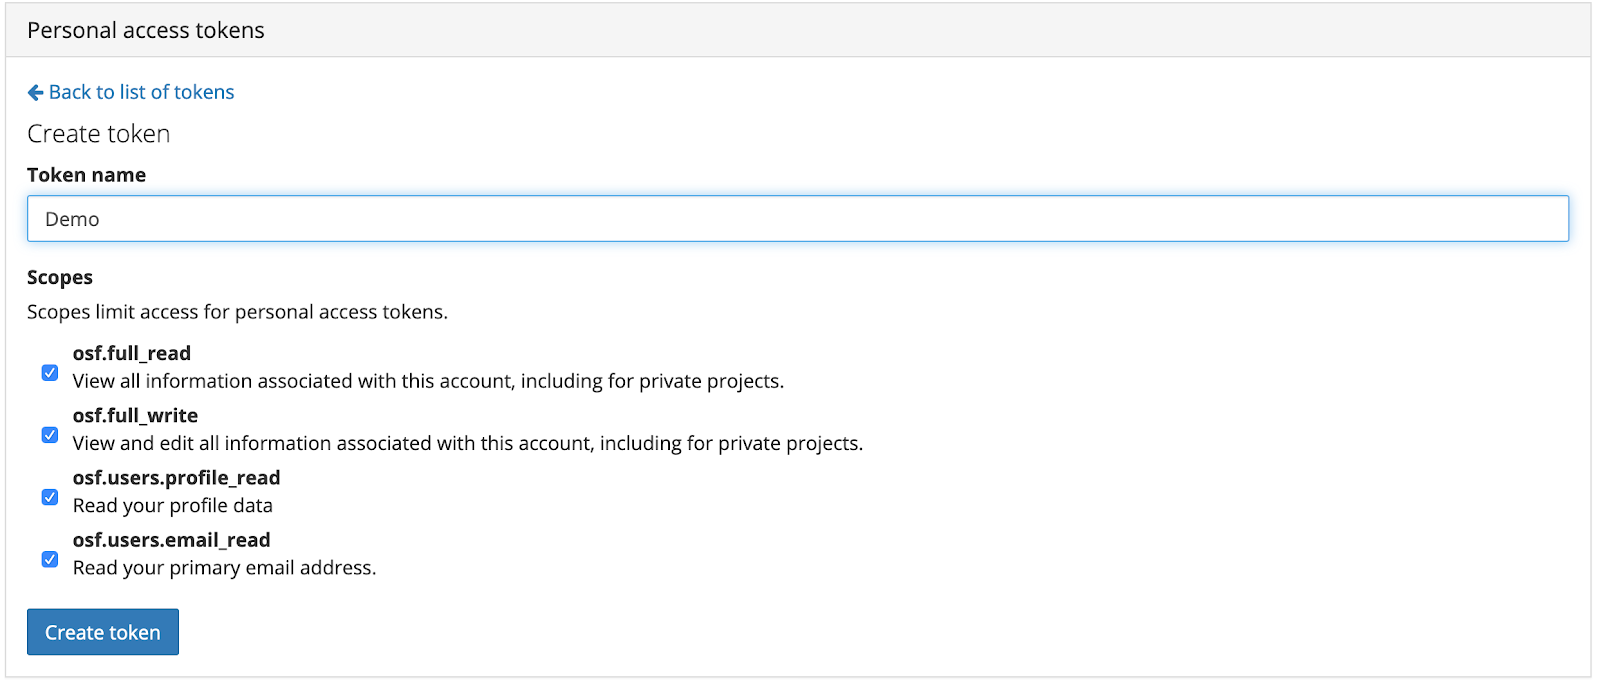
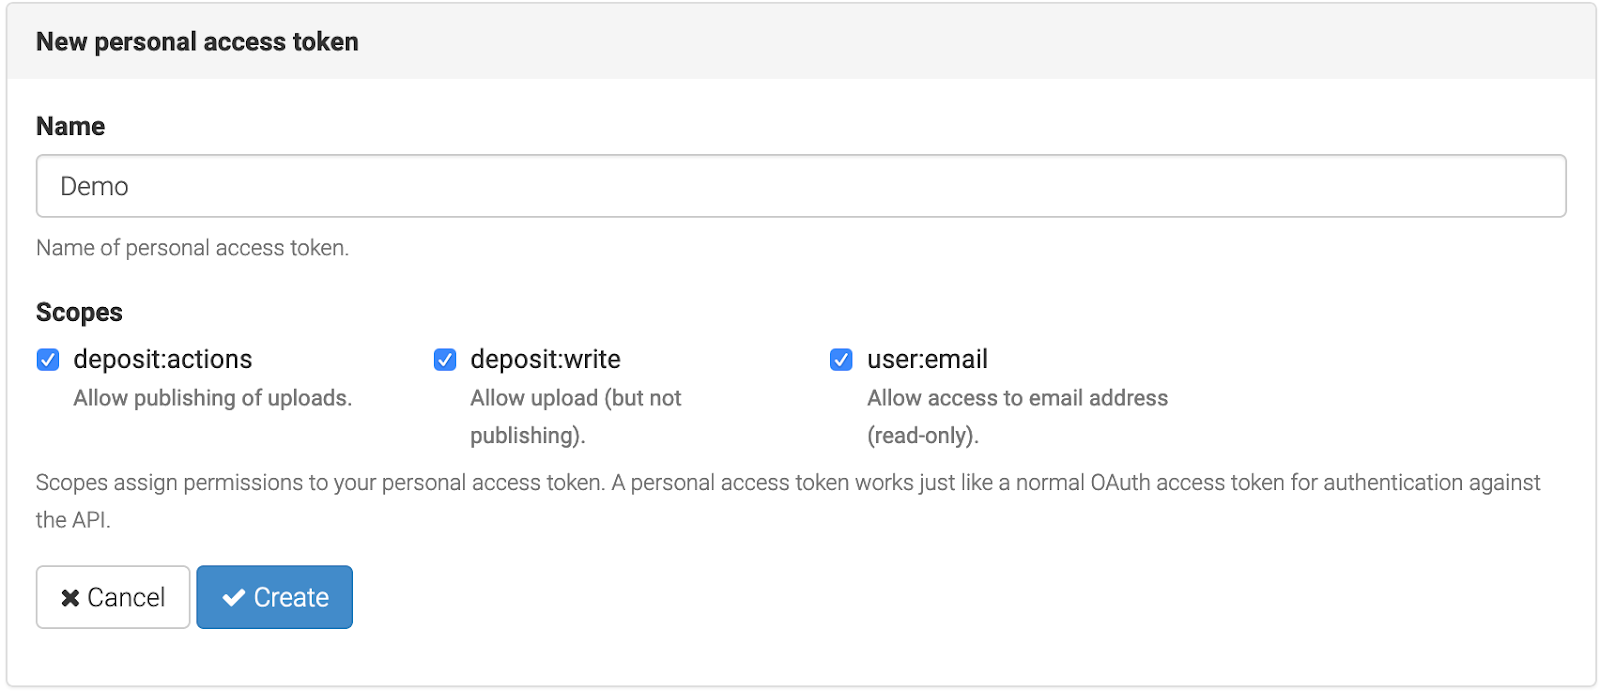
Create a token name and select all scope options. Then press
Create token.
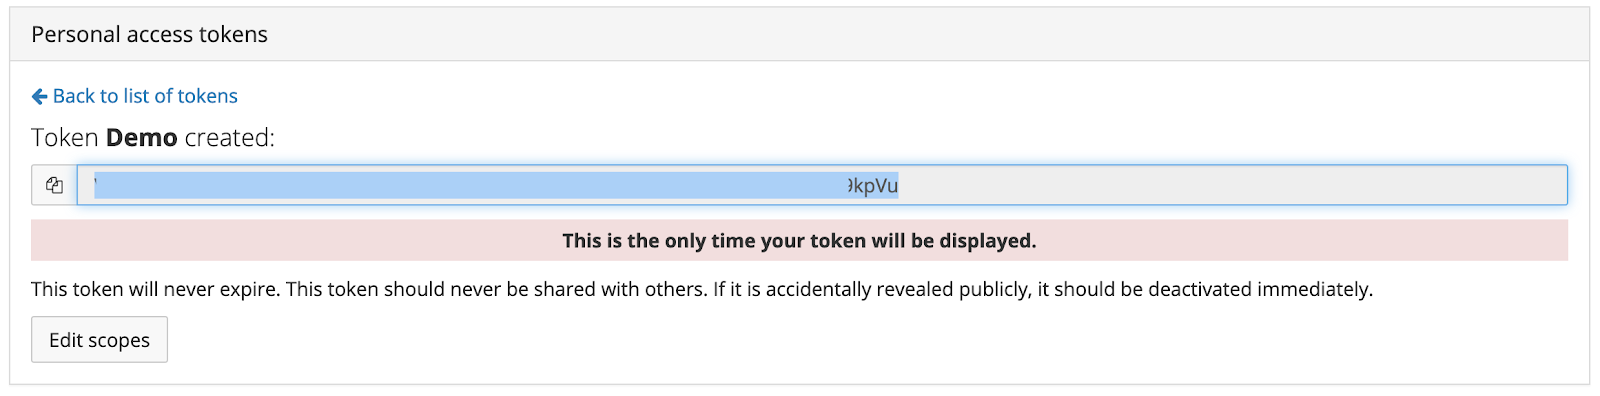
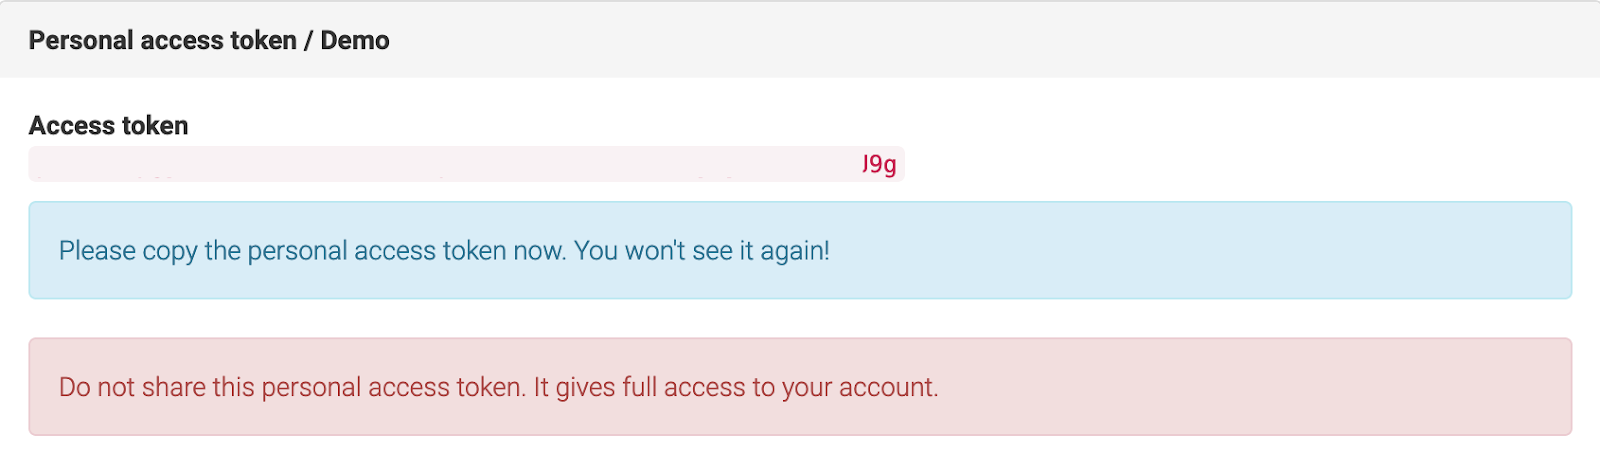
Make sure you copy this token somewhere securely, this will be the only time it is shown to you.
CurateND
Navigate to https://curate.nd.edu and login to your account.
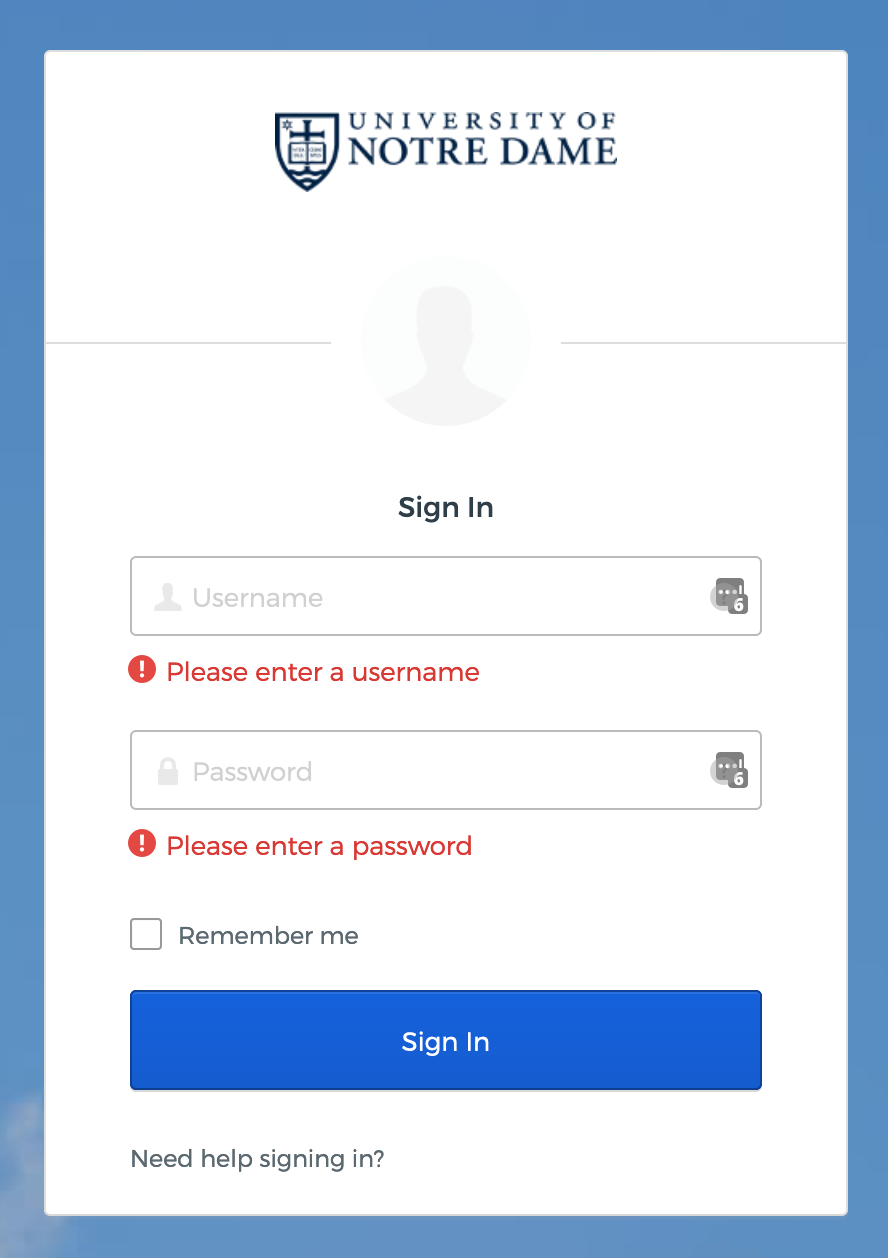
In the top right corner, select
Manageand then click onAPI Access Tokens.

Click on
Create New Token.
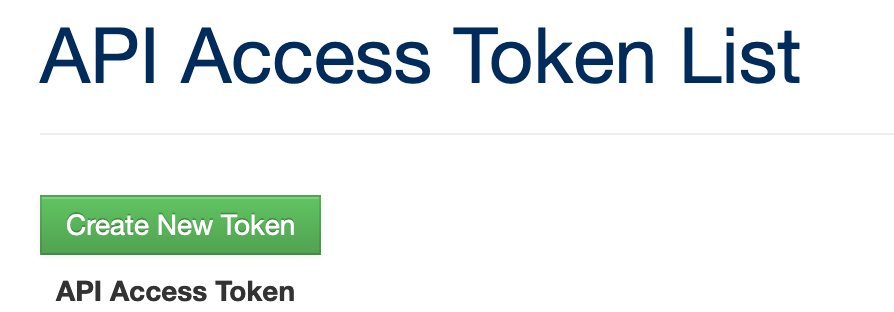
Make sure you copy this token somewhere securely.

GitHub
Navigate to https://github.com and login to your account.
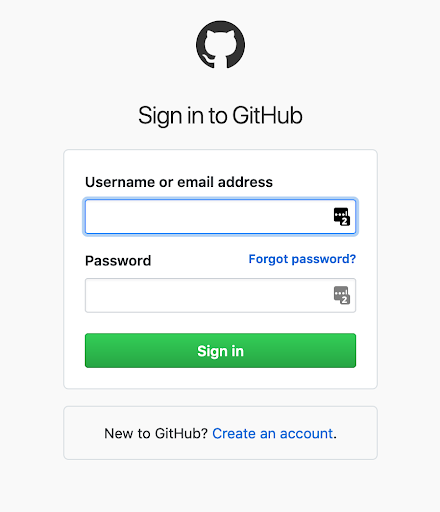
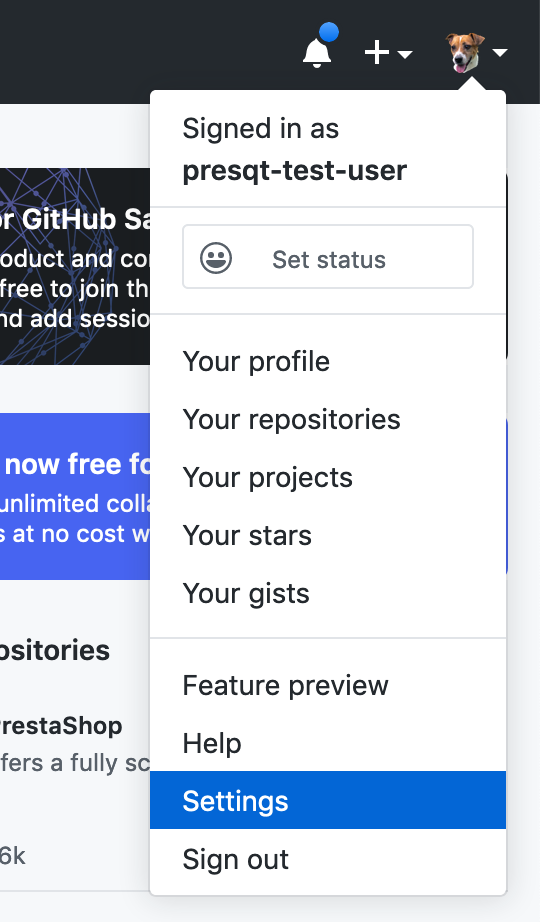
In the top right corner, select your profile picture and then click on
Settings.
In the bottom left of your settings, select
Developer Settings.
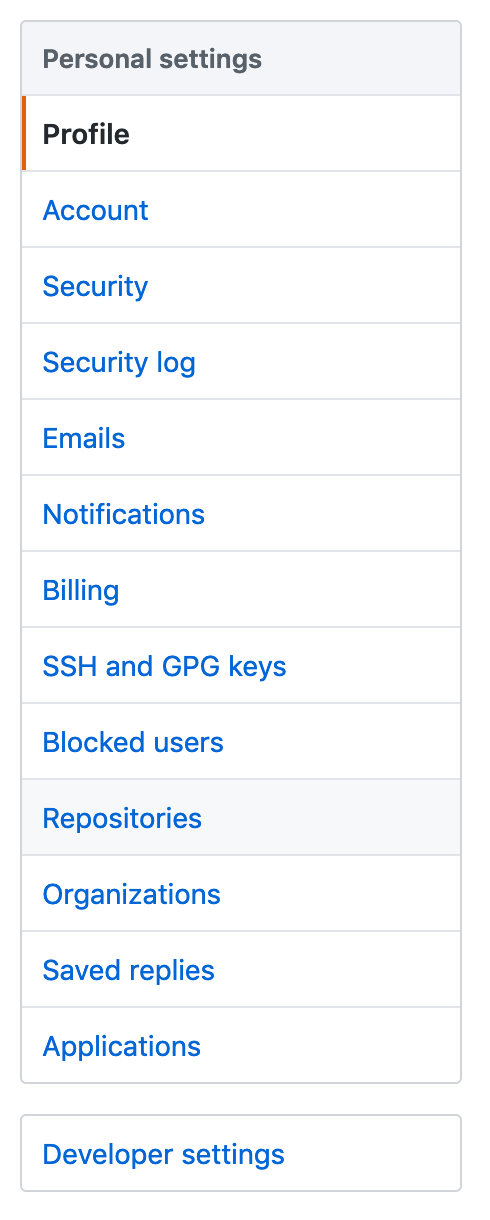
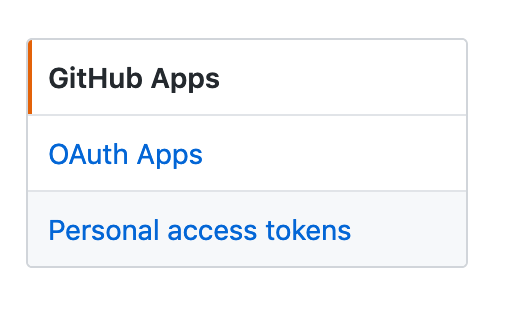
On the left hand side of this screen, select
Personal Access Tokens.
Click on
Generate New Token.

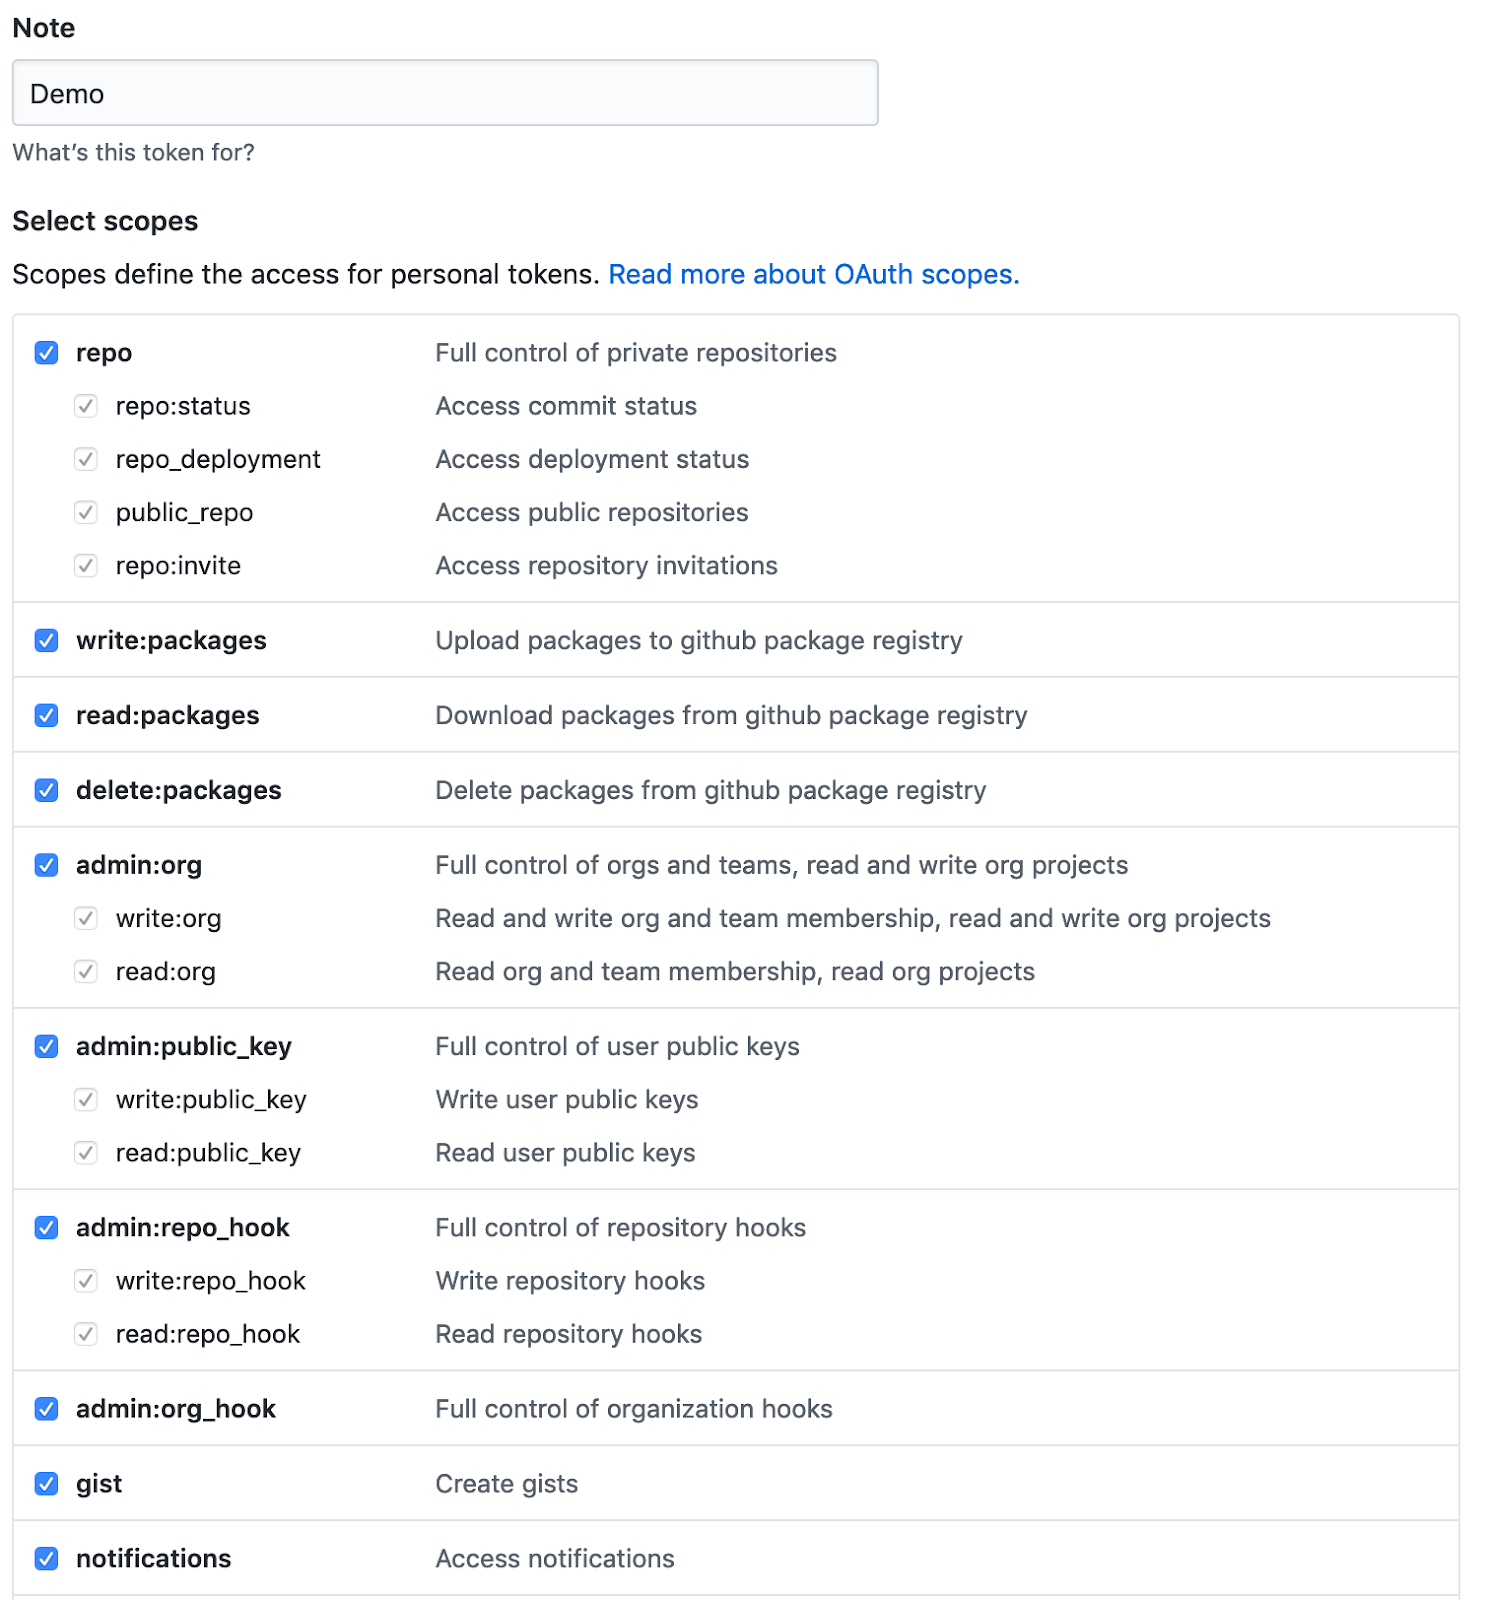
Add a note about what the token will be used for, and select all scopes. Then select
Generate Token.
Make sure you copy this token somewhere securely, this will be the only time it is shown to you.

Zenodo
Navigate to https://zenodo.org and login to your account.

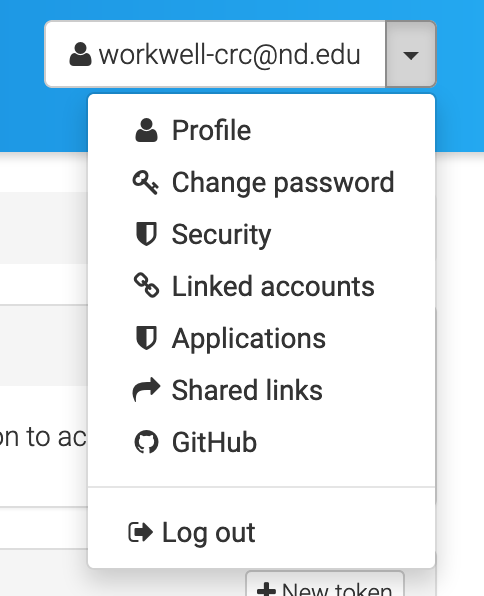
In the top right corner, select your username and then click on
Applications.
In the
Personal access tokenssection, click onNew token.

Give the token a name and select all scopes, then click
Create.
Make sure you copy this token somewhere securely, this will be the only time it is shown to you.
GitLab
Navigate to https://gitlab.com and login to your account.
In the top right corner, select your username and then click on
Settings.
In the left hand menu, select
Access Tokens.

Give the token a name and select all scopes, then click
Create personal access token.
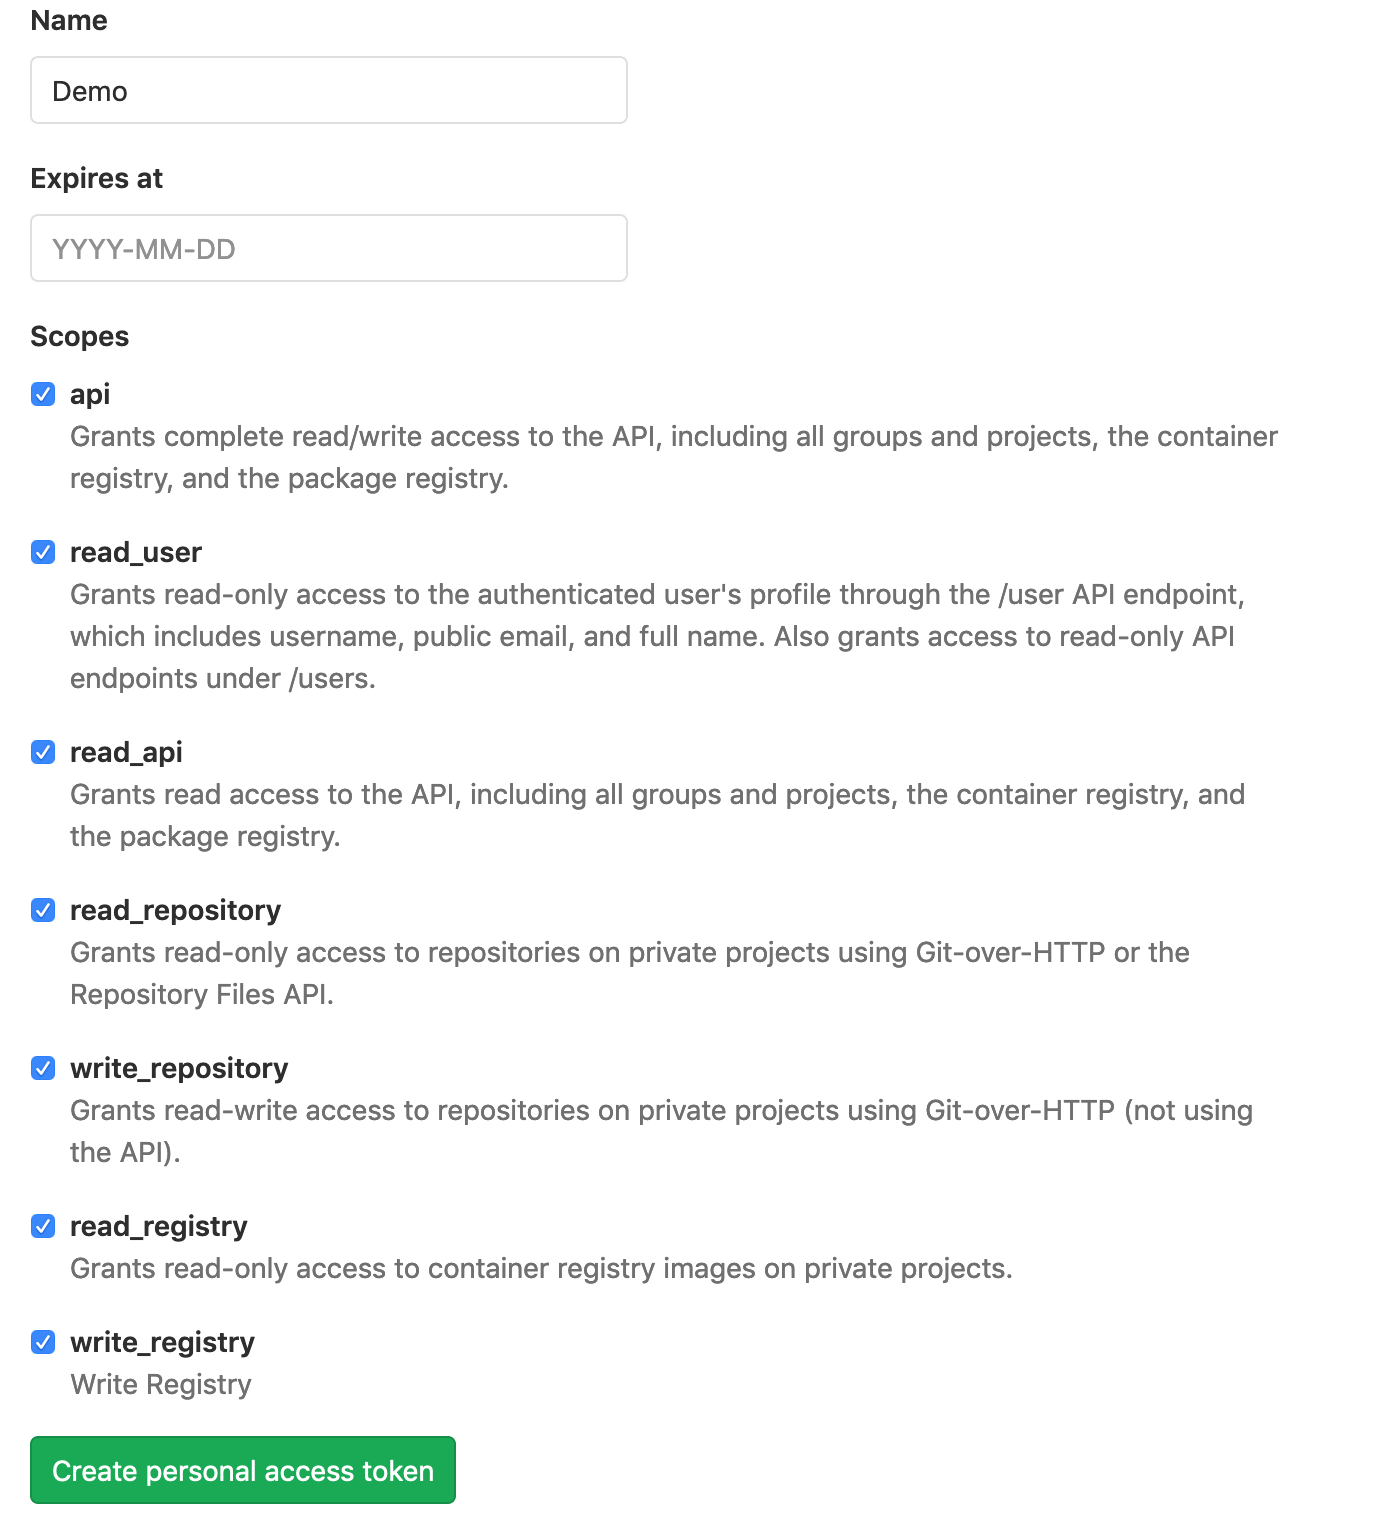
Make sure you copy this token somewhere securely, this will be the only time it is shown to you.

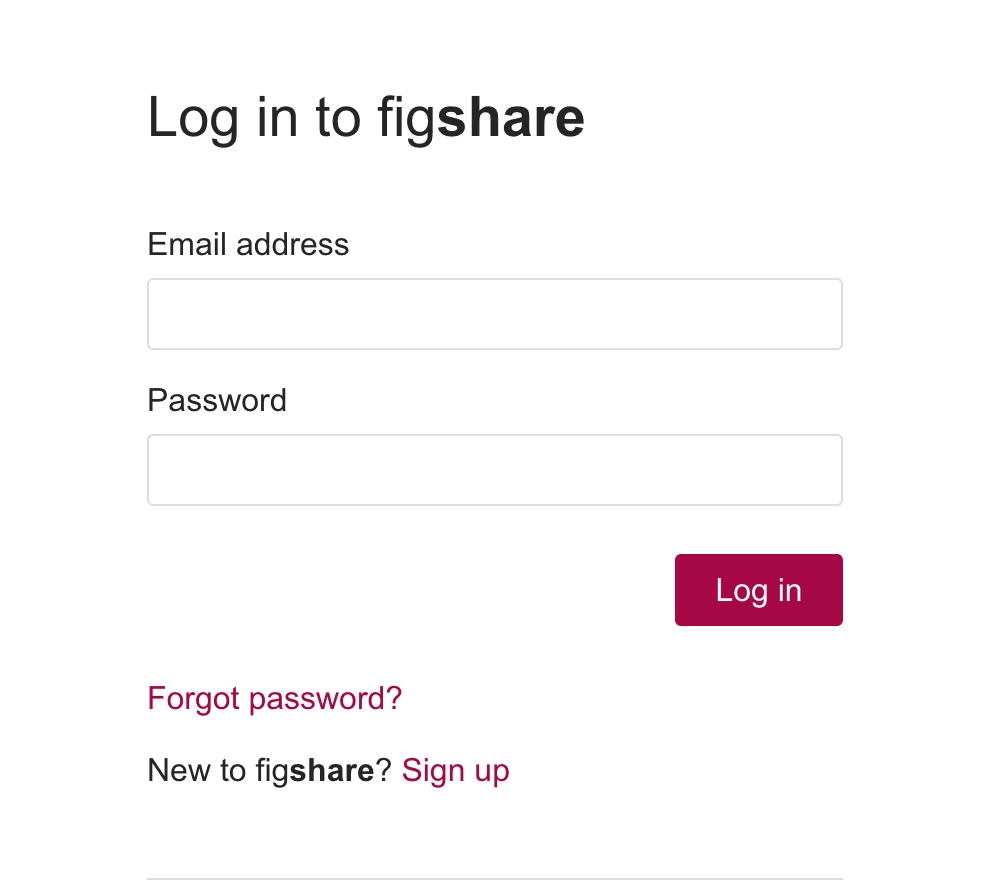
FigShare
Navigate to https://figshare.com/account/login and login to your account.
In the top right corner, select your username and then click on
Applications.

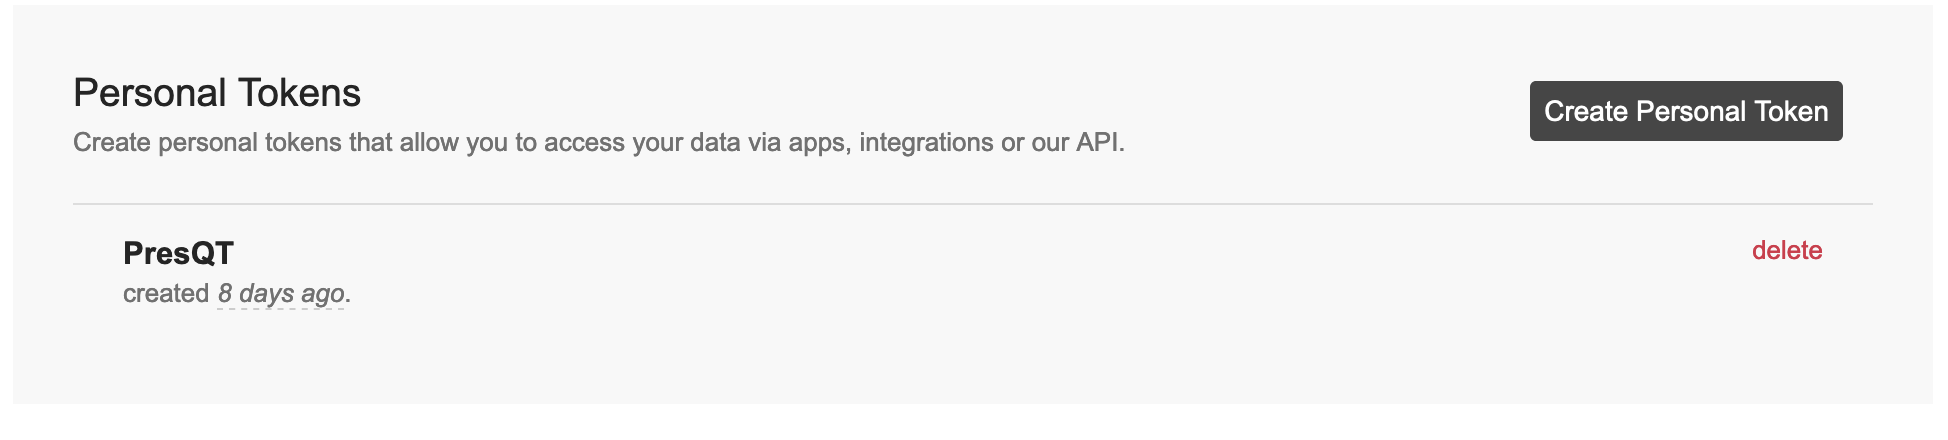
Scroll down to the bottom of the screen, and click
Create Personal Token.
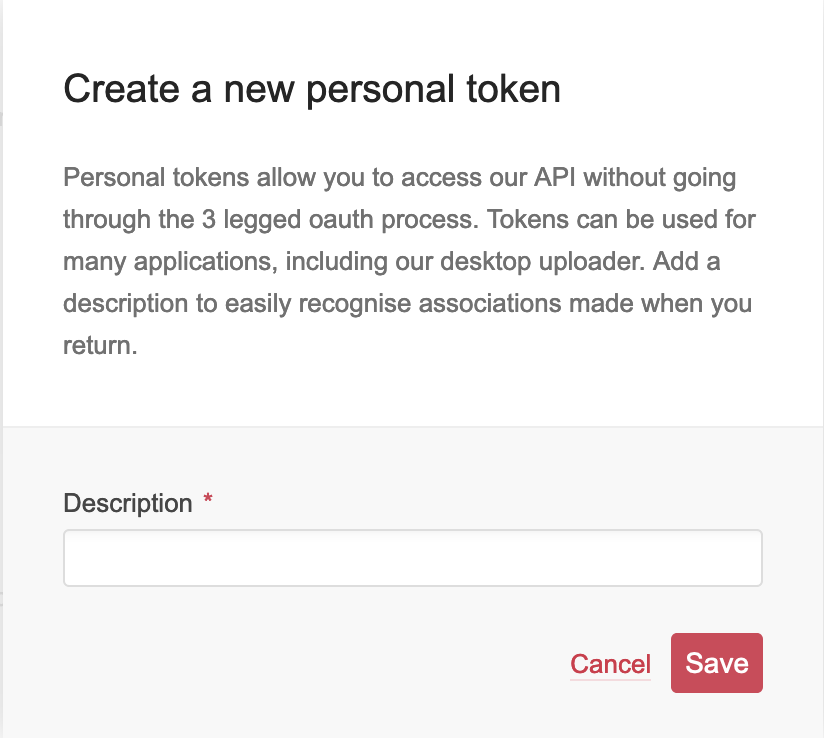
Give the token a description (name), then click
Save.
Make sure you copy this token somewhere securely, this will be the only time it is shown to you.
